CMES Virtual Computer Lab - Windows 10 Set Up Instructions
Instructions for a Windows 10 connection to the virtual CMES student computer lab environment.
revised 04/19/2021
Before you can begin, access must be granted to the resource. We encourage you to use the Campus Help Desk (801-581-4000 option 1) to generate a ticket for us with the following information: your full name, your UNID, your PI, and any specific class or software needs. Professors are encouraged to also contact the Campus Help Desk (801-581-4000 option 1) to generate a ticket for us with their class rosters to add students in bulk. Removal is the same.
What you will need
- Pre-authorized access to the resource as granted by UIT and your CMES Professor
- A home Windows 10 computer with administrator access and reliable access to the internet
- A web browser, i.e. Internet Explorer
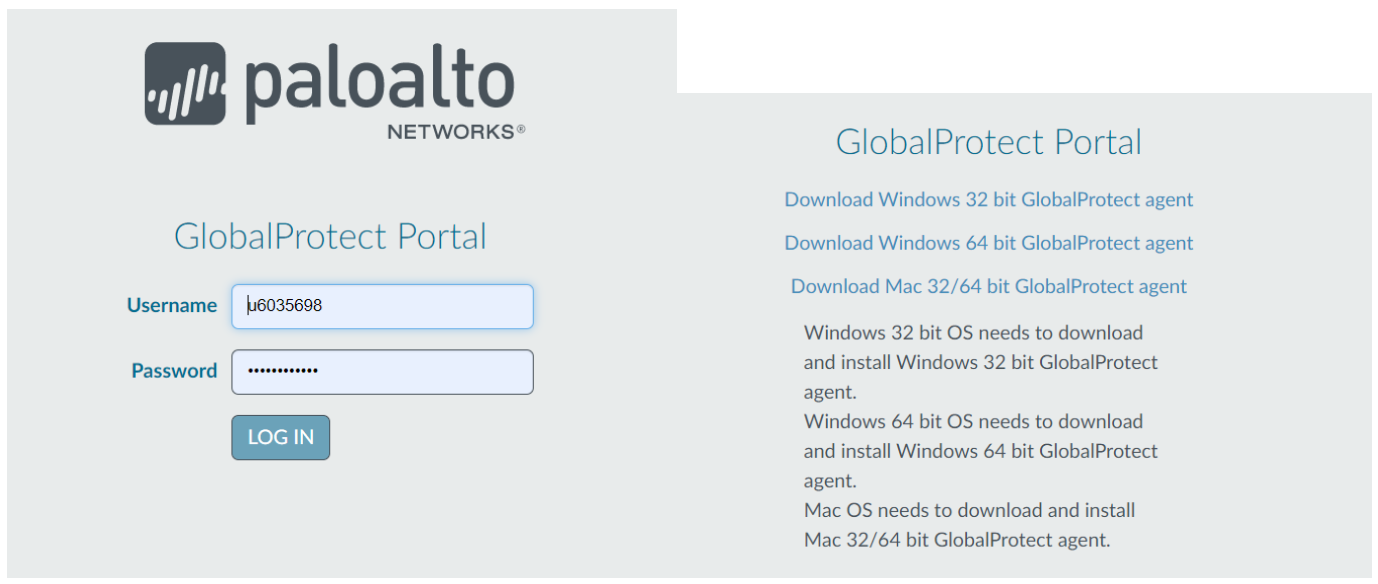
- Go to http://vpn.utah.edu, login using your uNID and download the GlobalProtect VPN Client and install it on your computer.
-
Download and install the Microsoft Remote Desktop application for your computer, available for free in the App Store
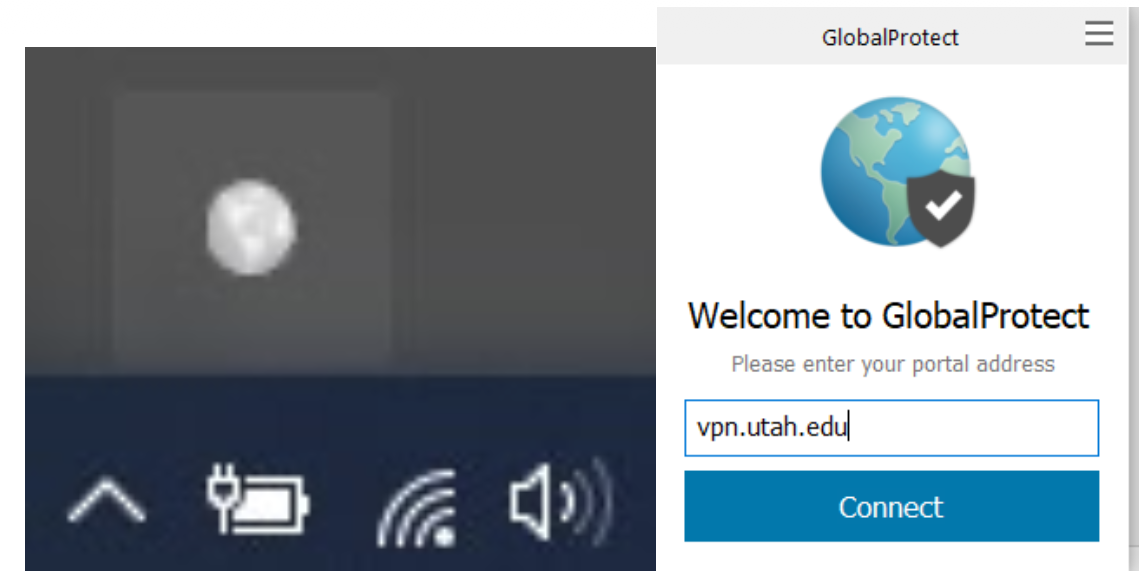
To begin the connection process:
1. Open GlobalProject and direct it to http://vpn.utah.edu
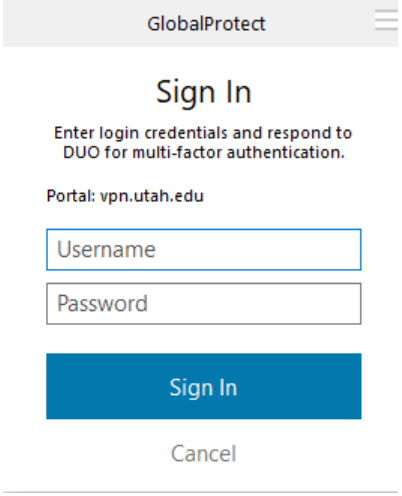
2. Complete the VPN sign-in process using your uNID and password.
3. Confirm DUO Authentication request before a timeout occurs.
Connect to the resource through your web browser:
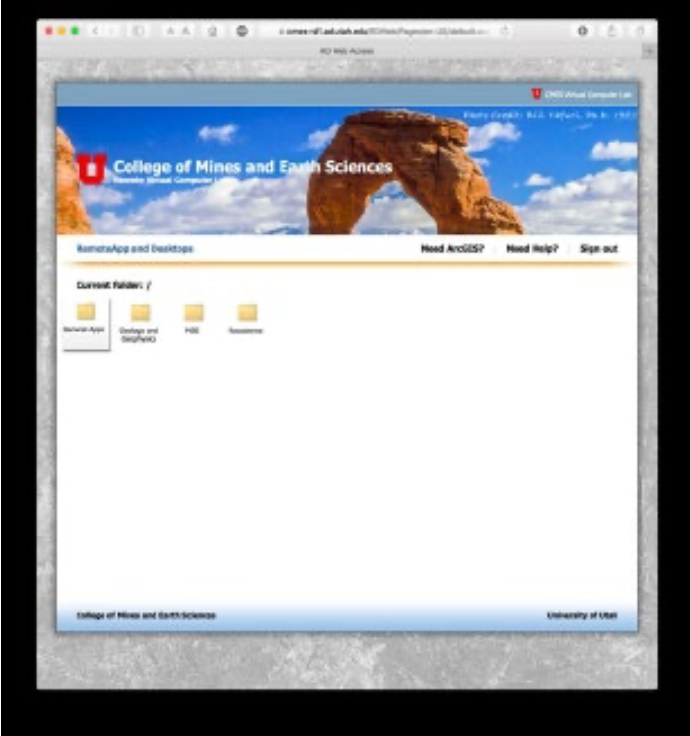
1. Point your web browser to the CMES Web Access webpage
2. Before logging-in, please review the NOTES on this log-in page. They may change at any time and this could affect your session. (Scheduled maintenance, cloud resources, etc.)
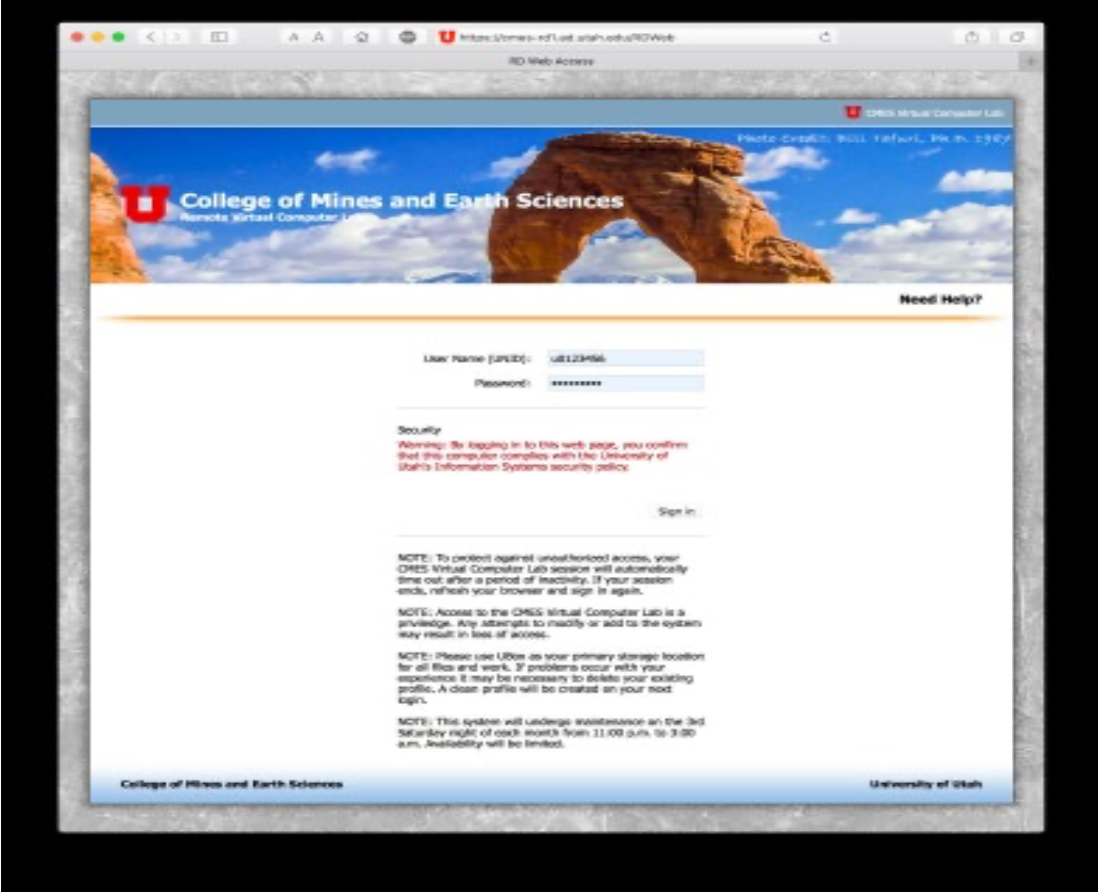
3. Enter your UNID and CIS password in the provided fields and click “Sign In”
4. Select and then surf into the folders as instructed by your Professor to access the desired software resource. (I will be using the application “GeoMapApp” located in the /General Apps folder for this example.)
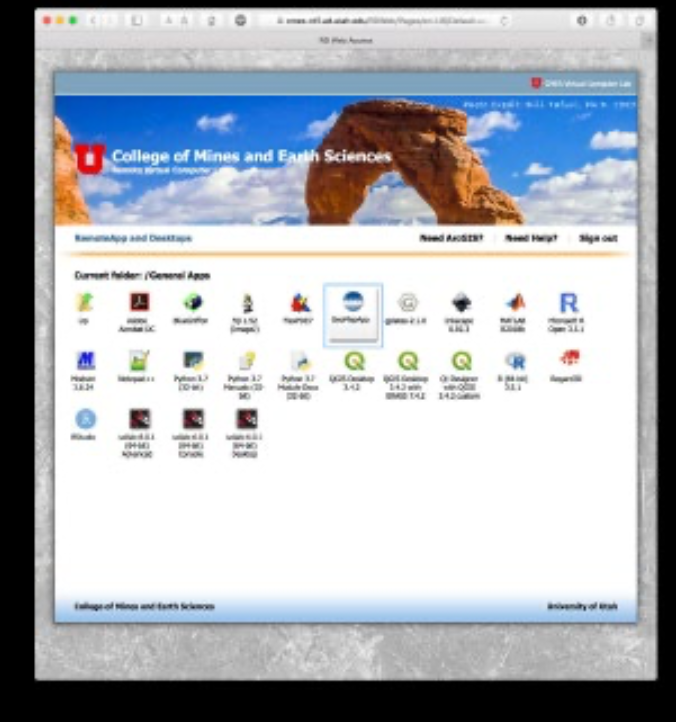
5.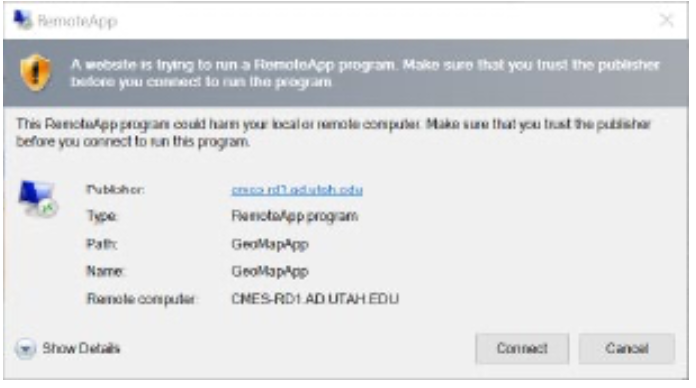 After single-clicking the “GeoMapApp” software application icon above, Internet Explorer
will download the RemoteApp program, and Microsoft Remote Desktop will ask you to trust
the publisher to run this program. Click “Connect” when your systems asks you the following:
After single-clicking the “GeoMapApp” software application icon above, Internet Explorer
will download the RemoteApp program, and Microsoft Remote Desktop will ask you to trust
the publisher to run this program. Click “Connect” when your systems asks you the following:
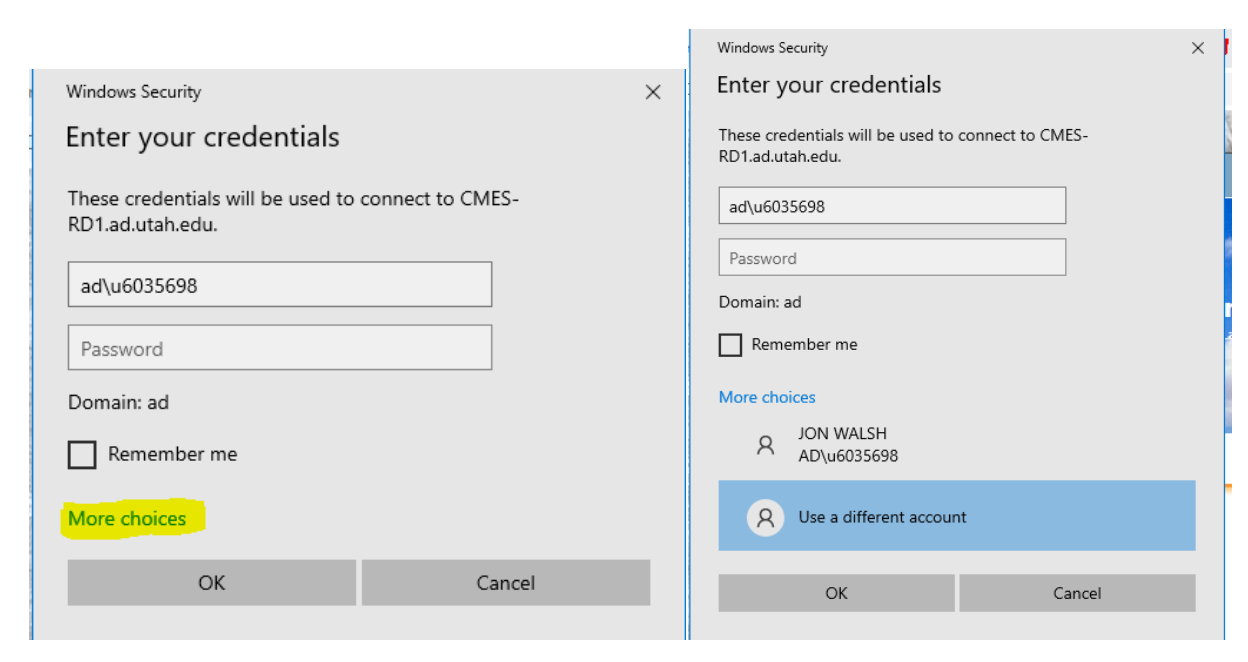
- If you are prompted for credentials, enter the following:
- Click “More Choices”
- AD/your unid (example: ad\u123456)
- Enter your password
- Click OK
6. You will be logged-in to a remote session where you can then use the application
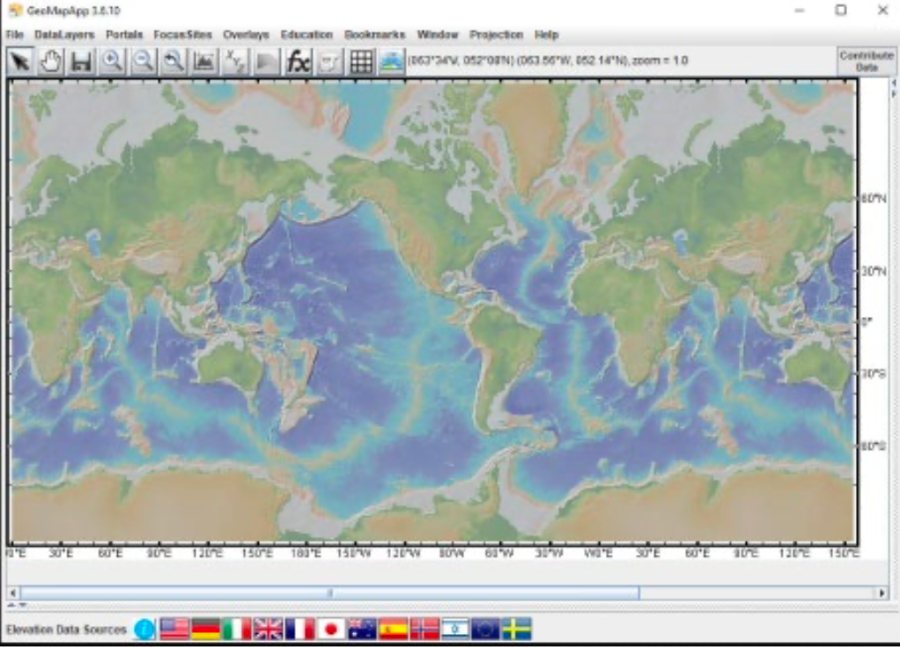
7. To quit the application, choose the application’s File pull-down menu item “Exit”.